GPX files are field records created during documented hikes. They can be viewed in compatible mapping applications alongside the corresponding trail report.
Step 1
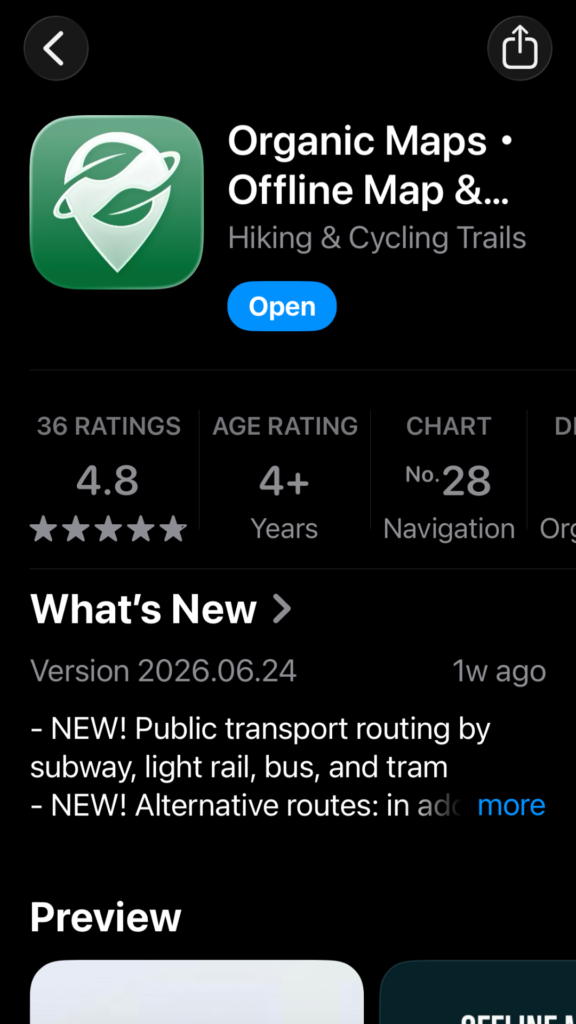
Install a GPX-Compatible Map Application
The examples below use Organic Maps, a free offline mapping application that supports GPX files. Other GPX-compatible applications may also be used.
Step 2
Download the Documented GPX File
Each trail report includes a downloadable GPX field record. Select the GPX link to save the file to your device.tap GPX File.
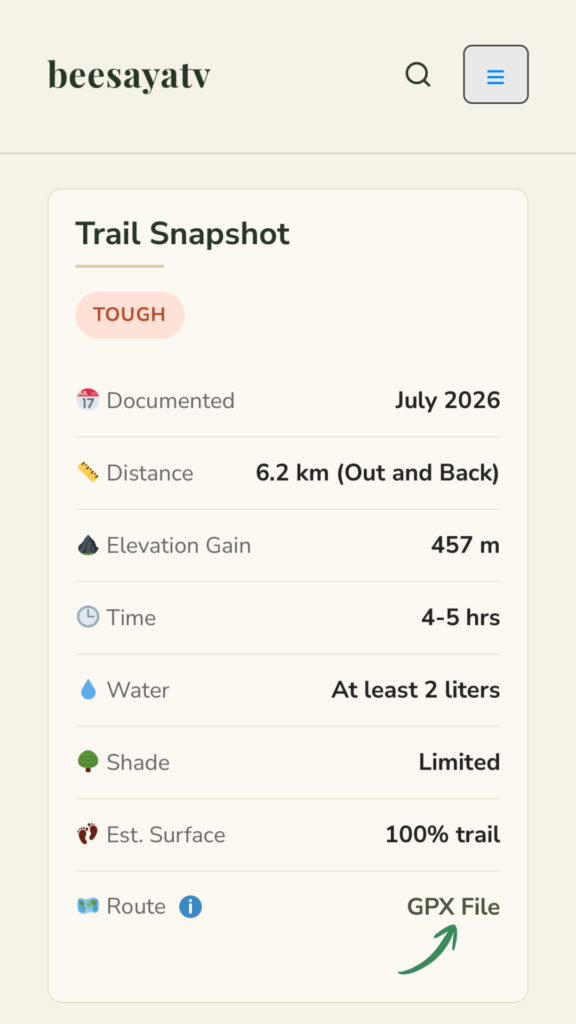
The GPX file contains geographic coordinates recorded during field documentation. It does not provide turn-by-turn navigation.
Step 3
Locate the Downloaded GPX File
Locate the downloaded GPX file using your device’s file manager or download folder.

Step 4
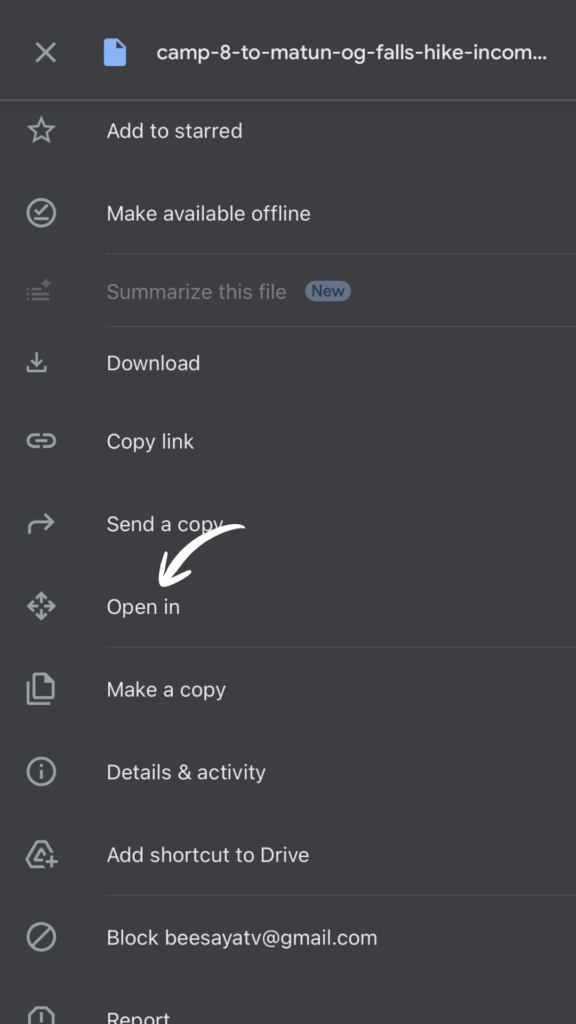
Open the GPX File in a Compatible Application
Use your device’s sharing or “Open in” option and choose a GPX-compatible mapping application such as Organic Maps.
Step 5
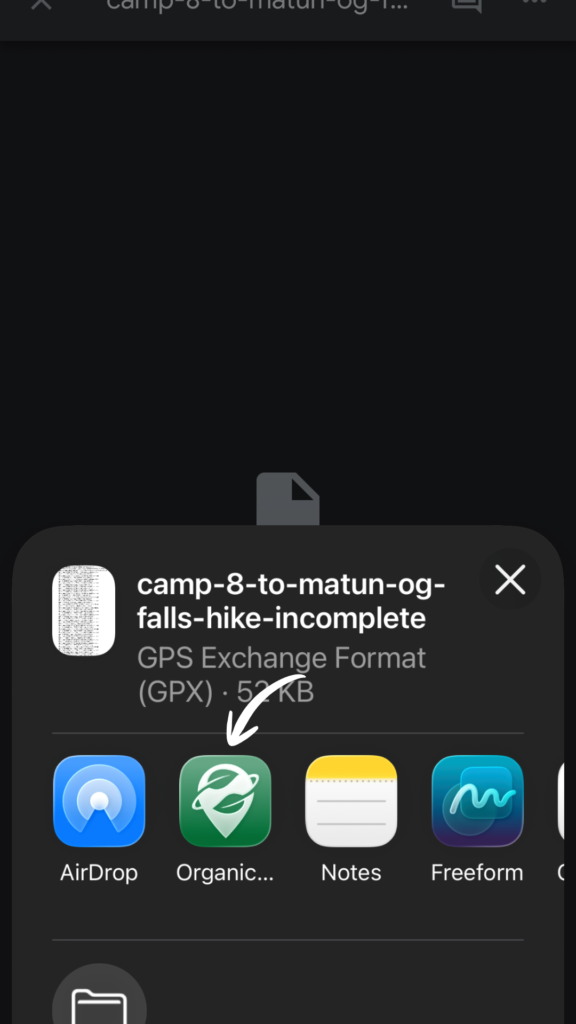
Import the GPX File
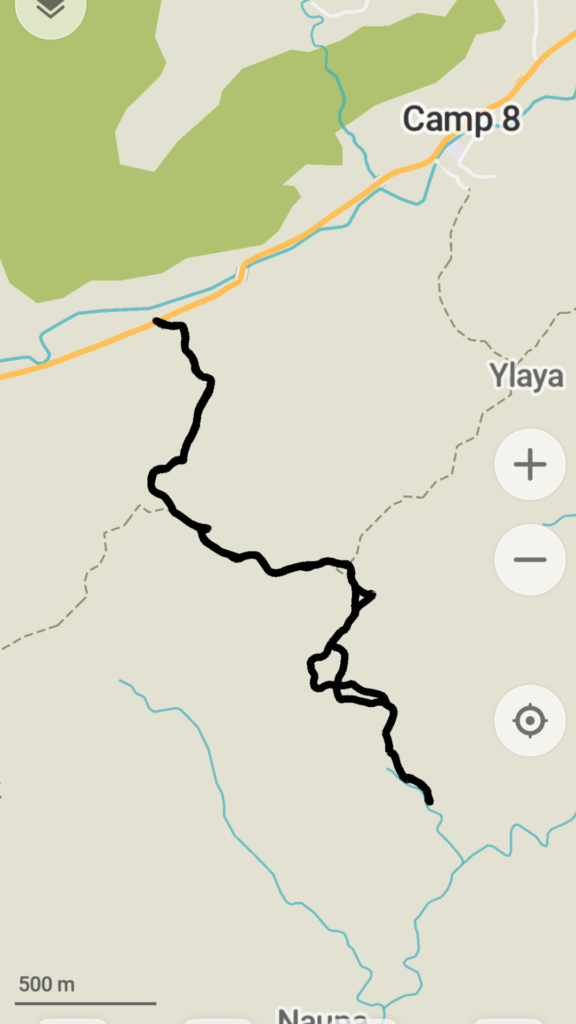
After selecting a compatible mapping application, the GPX track will be imported and displayed on the map.
Step 6
View the Recorded Track
The documented route will appear on the map as a recorded track. If location services are enabled, your current GPS position can also be displayed, allowing you to compare your position with the documented route.
GPX files represent documented routes on the recorded date and should be used together with the accompanying trail report and field observations.